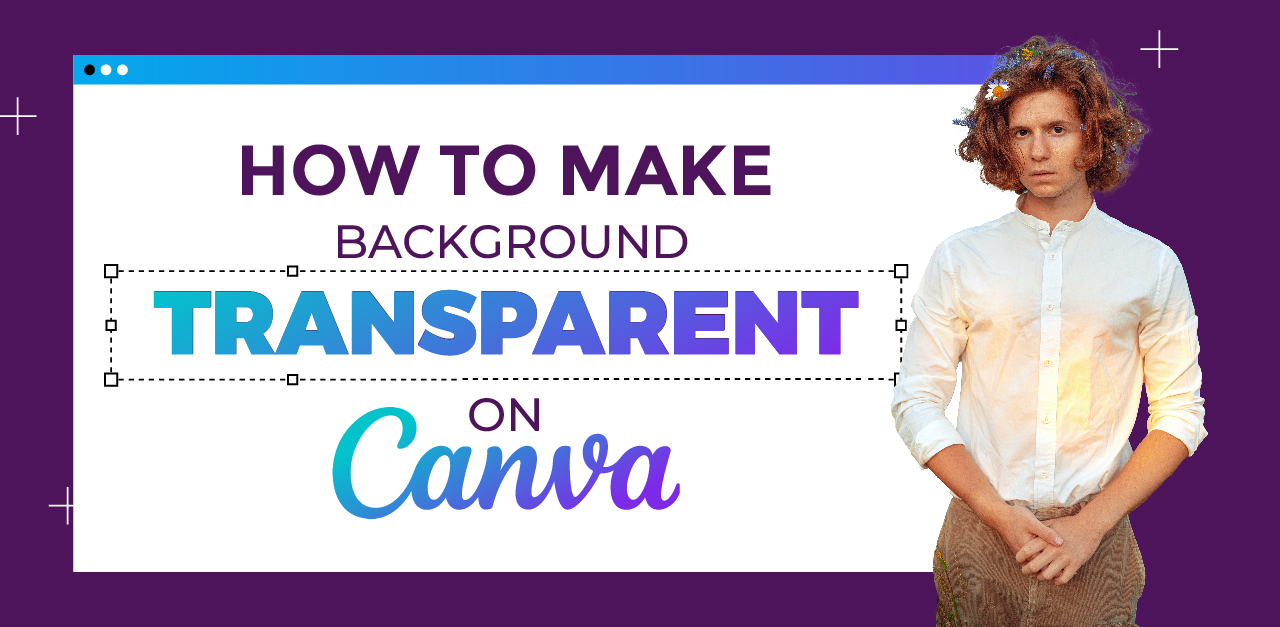
Want to use your Canva design on a new background or layer it with other visuals? The secret lies in creating a transparent background and Canva makes it surprisingly easy.
With just a few clicks, you can remove the background of your design and unlock more creative flexibility. Whether you’re designing logos, social media graphics, or product mockups, knowing how to make a background transparent in Canva is a must-have skill.
In this blog, we’ll walk you through the step-by-step process, share the benefits of using transparent backgrounds, and even compare it to using a white background so you know exactly when and why to use each.
Let’s dive in and give your Canva designs a cleaner, more professional edge.
TL;DR: Quick Guide to Transparent Backgrounds in Canva
Need to download a logo or design without a background?
- If you’re using Canva Pro, simply click “Download” → “PNG” → check “Transparent background”done!
- Free users can manually remove backgrounds using workarounds like erasing or layering over white.
- This blog walks you through both methods step-by-step, explains the differences between Pro and Free, and shares tips on when and why to use transparent backgrounds for your branding, social media, and more.
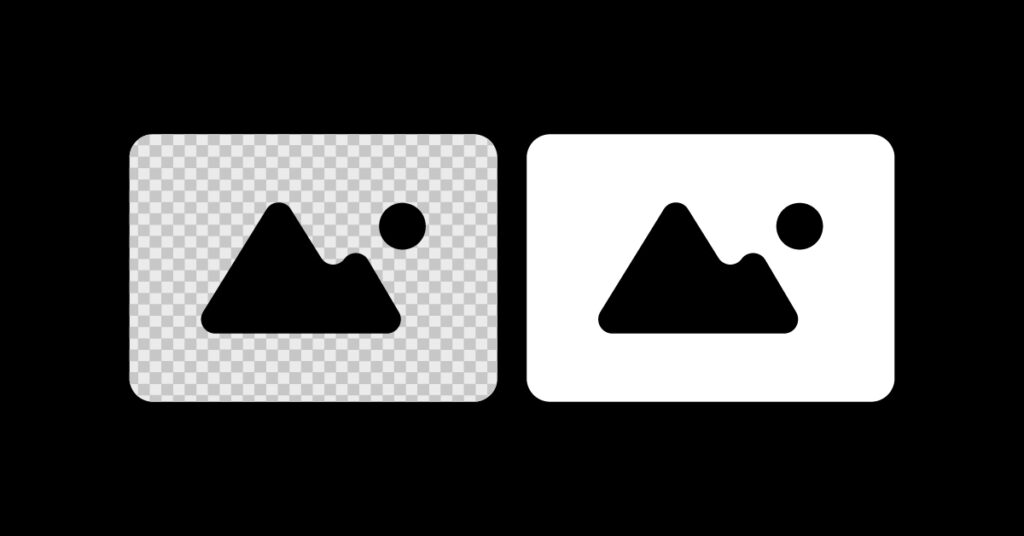
What is a Transparent Background?
A transparent background means that the background of an image has no color, design, or visual elements it’s completely see-through. Instead of appearing with a white or colored box around it, the image will seamlessly blend into whatever background it’s placed on.
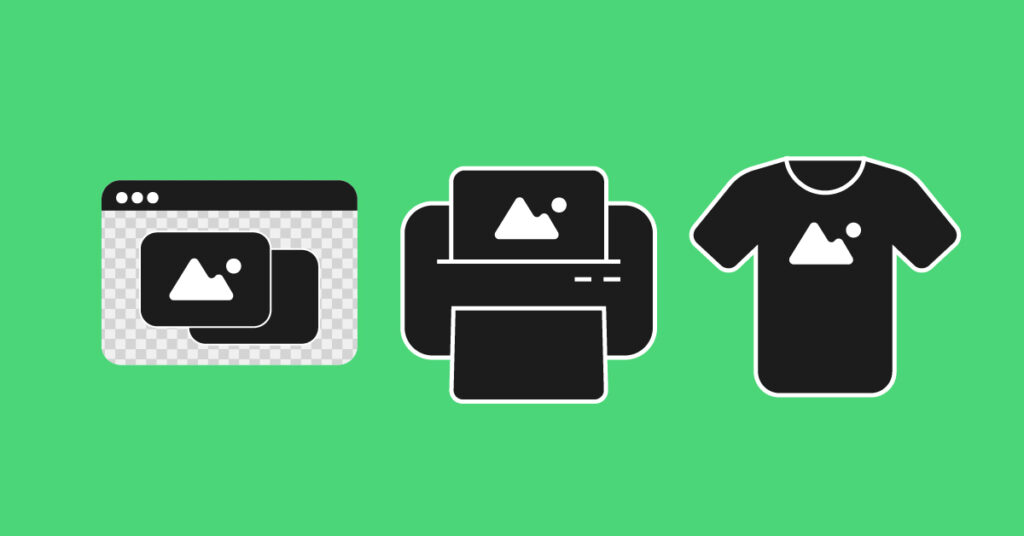
For example, if you place a logo with a transparent background on a website, only the logo itself will show no distracting box behind it. This is especially useful for:
- Logos
- Stickers and icons
- Watermarks
- Overlay graphics for social media or videos
Transparent backgrounds are typically saved in PNG format, since JPEGs do not support transparency. This makes your design versatile, professional, and visually clean across different uses.
Understanding the Need for a Transparent Background in Canva
Transparent backgrounds let you experiment with your design as they add flexibility to the entire design. When backgrounds are made transparent, it enhances the versatility of designs, allowing seamless overlay of images on different backgrounds.
They give a professional and polished look to designs, blending well with any layout. By eliminating distracting elements, transparent backgrounds focus on the main subject, which is often required for product shoots and other marketing activities.
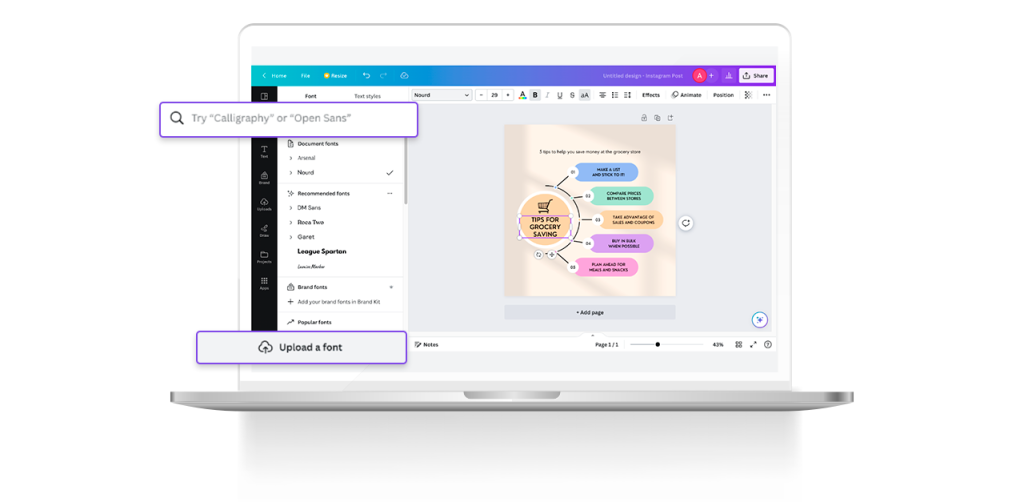
Also Read: How to add fonts to Canva: A step-by-step guide
Steps to Make a Transparent Background in Canva
Getting a transparent background in Canva is a straightforward process; here’s how you do it:
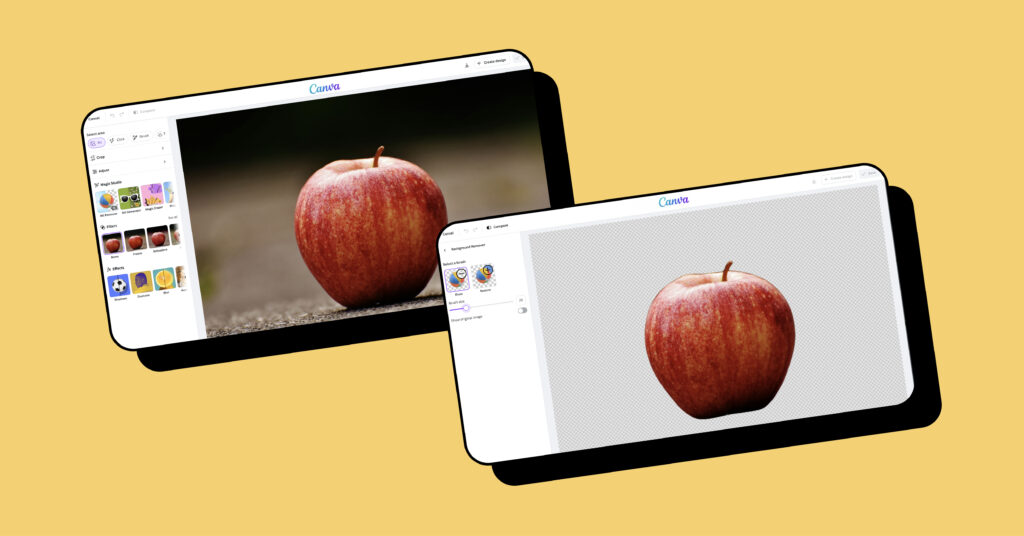
- Ensure that you are logged into your Canva Pro or Canva Enterprise account.
- Upload the image you wish to work on or choose an existing image.
- Click the ‘Edit Image’ button located in the top toolbar.
- Navigate to the left side panel and select ‘Background Remover.’
- Upon clicking ‘Background Remover,’ the background will disappear instantly.
- Once you are content with the image without its background, click “Share” to download the image with a removed background. Alternatively, you can use CTRL + Z or Command + Z (on Mac OS) to undo recent changes made to the image.
- Continue designing the image and download it as soon as you’re finished.
How to Download an Image with a Transparent Background in Canva
Once you are done creating or editing your design, you can download it effortlessly with a transparent background in a PNG file format. Remember, you need a Canva Pro or Canva Enterprise version to do this.
To download your design with a transparent background in Canva, simply click on the download button located in the top-right corner of the Canva toolbar. From the options, select PNG as the file format to ensure optimal transparency. Before downloading, make sure to enable the “Transparent background” option to remove any unwanted background color or image.
If needed, you can also adjust the image quality settings to suit your preferences. Lastly, save the PNG file to your desired location. And that’s it! You now have your design with a transparent background ready to use.
Advantages of Using a Transparent Background
The use of transparent backgrounds is a vital element of graphic design for several reasons:
- Seamless Blending: A transparent background allows your image to blend seamlessly into its surroundings, creating a natural and integrated appearance.
- Unrestricted Design Freedom: With no background constraints, you have the freedom to position your image in creative and unconventional ways within a design.
- Dynamic Overlays: Transparent backgrounds facilitate dynamic overlays, enabling you to superimpose images or graphics without any visual interference from the background.
- Focused Attention: The absence of a background directs viewers’ focus solely on the subject, ensuring they grasp the intended message or concept more effectively.
- Aesthetic Simplicity: A transparent background simplifies the overall aesthetic, eliminating clutter and presenting a clean and elegant visual.
- Effortless Integration: Transparent backgrounds make it effortless to incorporate images into diverse designs, regardless of color schemes or patterns, without clashing.
- Enhanced Print Options: For print materials, a transparent background expands your options by allowing the image to adapt to different colored or textured surfaces seamlessly.
- Adaptive Branding: Logos and brand elements with transparent backgrounds can adapt to various marketing materials, maintaining brand consistency across a range of media.
- Photographic Realism: Images with a transparent background offer a sense of photographic realism, as the subject appears naturally placed in any context or scene.
- Customizable Context: The absence of a fixed background empowers you to tailor the context to suit specific themes or moods, enhancing the overall impact of the image.
If nothing else, transparent backgrounds open doors to unlimited creativity and experimentation.
A White Background vs A Transparent Background
When it comes to backgrounds, a white background can be clean and classic, but it may not always blend well with all layouts. On the other hand, a transparent background offers more flexibility and versatility for different designs.
While white backgrounds can sometimes appear visually heavy or overpowering, transparent backgrounds allow for a seamless integration of images into various backgrounds. Choosing between a white background and a transparent background ultimately depends on the intended use and desired aesthetic.
Which Version of Canva Makes a Transparent Background?
To make a transparent background in Canva, you need to upgrade to Canva Pro or Canva for Enterprise. These versions offer the option to create transparency in your designs. Unfortunately, the free version of Canva does not support transparent backgrounds.
With Canva Pro or Enterprise, you can also use the “Remove Background” tool to remove backgrounds from images. Upgrading gives you access to more advanced transparency features.
How to Make the Background Transparent in Canva for Free
Though you need a Canva Pro or Canva Enterprise subscription to make the background transparent, the free version also gives you some capabilities to make elements/objects transparent in your design.
Here’s how you do it
- Select the image/element or text box you want to make transparent or adjust the transparency.
- On the top, you will see a checkbox icon; click that icon so that a slider appears.
- Adjust the transparency slider according to the level of transparency desired.
- Now that you’ve set the transparency level of your object, you can continue working on your design or download it.
How to Do It for Free
If you don’t have Canva Pro, you can still get a transparent background using these free tools
- Remove.bg – Upload your image, and it auto-removes the background.
- Photopea – A free browser-based Photoshop alternative.
- Pixlr E – Offers manual background removal and layer-based editing.
- LunaPic – For quick, simple background erasing.
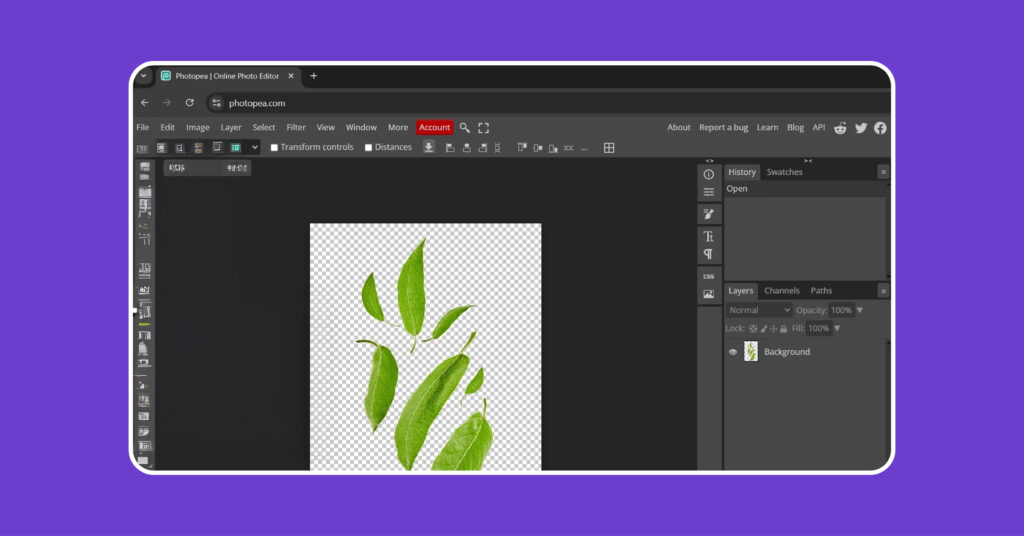
While these tools work well, they may lack the precision and export control of Canva Pro.
Canva Pro vs Free Comparison
| Feature | Canva Free | Canva Pro |
|---|---|---|
| Transparent background export | Not available | One-click export |
| Background remover | Not included | AI-powered removal |
| Branding tools | Limited | Brand kits & templates |
| Price | Free | ₹500/month |
While Canva Free is excellent for basic design, Canva Pro’s transparency tools make it ideal for polished, pro-level results.
When to Use Transparent Backgrounds vs Solid Colors
For Digital Media
Use transparent backgrounds for logos, icons, or product images on websites, videos, and social platforms where flexibility and clean overlays matter. Choose solid backgrounds when you need faster load times or want a consistent branded look (like Instagram quote cards).
For Print Designs
Transparent backgrounds work best when layering design elements in tools like InDesign. But for flyers, brochures, and bulk printing, solid backgrounds offer more control and reduce risks like jagged edges or print glitches.
For Consistent Branding
Transparency offers flexibility across different platforms and colored backdrops. Solid backgrounds, on the other hand, help maintain strong brand consistency—especially in visuals where the user can’t adjust the design.
Troubleshooting Transparency Issues
Even after removing a background, things don’t always look perfect right away. Here are some common problems you might encounter when creating transparent images—and how to fix them:

White Halos or Fuzzy Edges
Problem: Your image has a faint white outline around the subject after background removal. This often happens with compressed images or poorly cut edges.
Fix:
- Use the “Erase” brush in Canva Pro to manually clean up leftover edges.
- In Photoshop or Photopea, apply a “Defringe” or feathering adjustment to soften outlines.
- Try downloading the image in higher resolution PNG format to retain edge quality.
Jagged or Pixelated Edges
Problem: The subject looks rough or pixelated—especially around hair, fur, or curves.
Fix:
- Zoom in and manually refine the cutout using Canva’s Background Remover “Erase/Restore” tool.
- Use higher quality source images—low-res pictures often cause pixelation.
- If using free tools like remove.bg, try a paid export for smoother results.
File Still Shows a White Background
Problem: You removed the background but the downloaded image still has a white background when placed in another app.
Fix:
- Make sure you’re downloading the file as a PNG, not JPEG. JPEG doesn’t support transparency.
- Check if the app or platform where you’re uploading (e.g., PowerPoint or Word) supports transparent PNGs. Some require drag-and-drop placement instead of inserting as a photo.
Image Appears Transparent But Exports Wrong
Problem: Everything looks fine inside Canva, but once exported, the image gets flattened or shows unwanted background colors.
Fix:
- Double-check that “Transparent Background” is checked before hitting “Download” (available in Canva Pro).
- Avoid adding a white canvas/box layer underneath the image—it can get “flattened” into the export.
- Re-export using the “PNG” format and avoid converting to JPG afterward.
By catching these issues early, you’ll save time and avoid having to redo work later—especially if your image is being used for presentations, websites, or print.
Key Takeaways
- A transparent background allows your design to appear seamlessly on any surface, removing visible borders or boxes.
- Canva Pro enables one-click export with transparent backgrounds, ideal for logos, icons, and overlays.
- Free tools like Remove.bg, Photopea, and Pixlr offer manual background removal for non-Pro users.
- Transparent backgrounds offer superior professionalism, versatility, and design flexibility compared to white backgrounds.
- Always export in PNG format—it’s the only widely supported format for transparency.
Conclusion
Transparent backgrounds are more than just a design trend—they’re a practical solution for modern visual content. Whether you’re building a brand, designing a presentation, or creating social media graphics, transparency gives your work a polished, adaptable edge. While Canva Pro makes it effortless, free tools can still get the job done if you’re on a budget.
Ready to take your designs to the next level? Start creating with transparency in mind—because clean, borderless visuals leave a lasting impression.
Frequently Asked Questions
Firstly, you should have a Canva Pro or Canva Enterprise subscription to achieve complete transparency in your designs. If you are logged in through an account with an active subscription, check if the background layer is selected and remove any unwanted elements.
Next, ensure that your design is saved in a file format that supports transparency, like PNG or SVG. If nothing works, try refreshing your browser or clearing your cache.
Yes, it is possible to remove a white background in Canva. You can utilize the “Background Remover” tool or choose the “Transparent” option in the color palette to make the background transparent. Remember to save your image as a PNG file to preserve the transparency.
Use high-quality images with clear edges. For simple backgrounds, use the “background remover” tool; for complex backgrounds, use the “erase” tool. Zoom in and take your time to ensure thorough removal. Save your design as a PNG file to maintain transparency.
You can only go so far with doing everything on your own, but when you scale, you require experts to handle the design for you. That’s why Design Shifu is here to help you. Our Canva-compatible, 100% editable files allow you to make changes to the designs in your Canva board itself.
You won’t require any professional expertise or need to reuse the designs made by Design Shifu. Check out our unlimited graphic design plans to get started.