
Want to remove a background from your photos but don’t want to pay for expensive software? GIMP can help. Remove background in GIMP using simple, free tools that get the job done in minutes. GIMP is a powerful open-source photo editor that lets you cut out backgrounds accurately, without subscriptions or hidden costs.
In this guide, you’ll learn five different ways to remove backgrounds in GIMP. Each method works best for different types of images.
What Is GIMP?
GIMP stands for GNU Image Manipulation Program. It’s a free photo editor that works on Windows, Mac, and Linux.
Think of it as a free version of Photoshop. You can edit photos, remove backgrounds, add effects, and create graphics, all without spending a penny.
If you don’t have GIMP installed yet, you can download GIMP for free from the official website and follow along with this guide.
Before You Start: Add an Alpha Channel
Before removing any background, you need to add an alpha channel. This lets GIMP create transparent areas in your image.
Here’s how:
- Open your image in GIMP
- Look at the Layers panel (usually on the right side)
- Right-click on your image layer
- Click “Add Alpha Channel”
If the option is grayed out, don’t worry. Your image already has an alpha channel. Adding an alpha channel is essential to remove background in GIMP, as it allows transparent areas to appear correctly.
Method 1: Remove Background in GIMP Using the Fuzzy Select Tool
The Fuzzy Select tool works like a magic wand. It selects areas with similar colors.
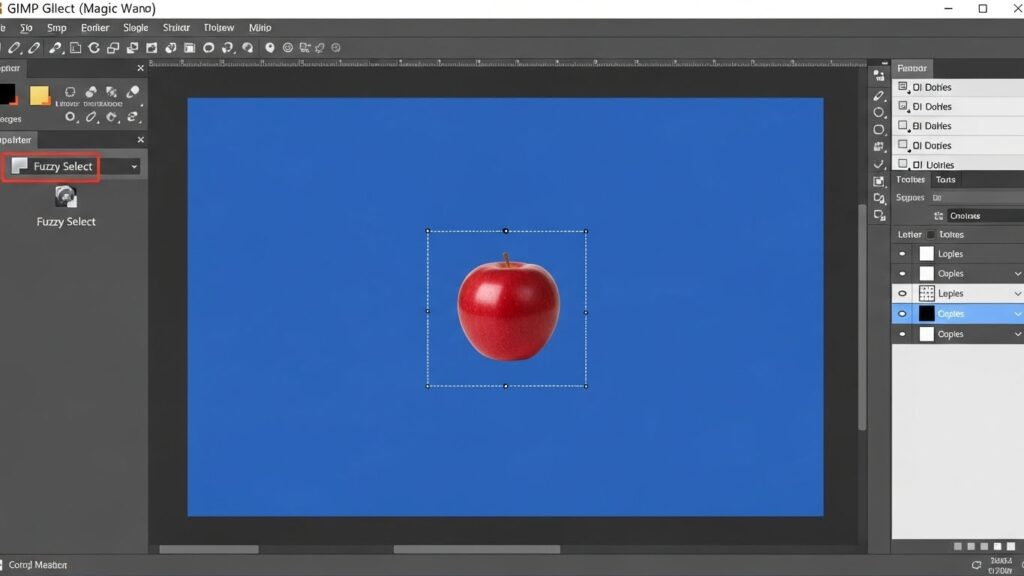
When to use it: Your background has solid colors or simple patterns. The subject and background look clearly different.
Step-by-step guide:
- Click the Fuzzy Select tool icon (it looks like a magic wand)
- You can also press “U” on your keyboard
- Click on your background
- The tool will select areas with similar colors
- Press Delete to remove the selected area
Pro tips:
- Enable “Feather Edges” in the tool options for smoother edges
- Turn on “Draw Mask” to see what you’re selecting
- Hold Shift and click to add more areas to your selection
- Hold Ctrl and click to remove areas from your selection
- You might need to click and delete several times to get all the background
Method 2: Select by Color Tool (Best for Solid Color Backgrounds)
This tool selects every pixel of the same color across your entire image.
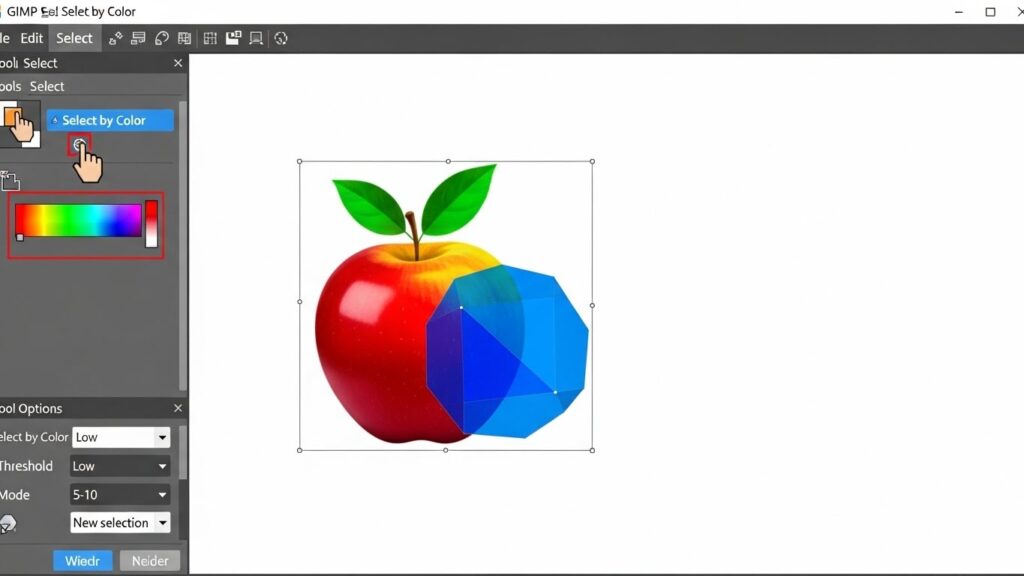
When to use it: Your background is one solid color, like white, black, or green.
Step-by-step guide:
- Go to Tools > Selection Tools > Select by Color
- Or press “Shift + O” on your keyboard
- Enable “Feather Edges” and “Draw Mask” in the tool options
- Click anywhere on the background color
- All pixels of that color will be selected
- Press Delete to remove them
Pro tips:
- After clicking, drag your mouse up and down to adjust how much gets selected
- Zoom in to catch small leftover pieces
- This method is faster than Fuzzy Select for simple backgrounds
Method 3: Paths Tool (Best for Clean, Professional Results)
The Paths tool lets you draw a precise outline around your subject. It takes more time but gives the cleanest results.
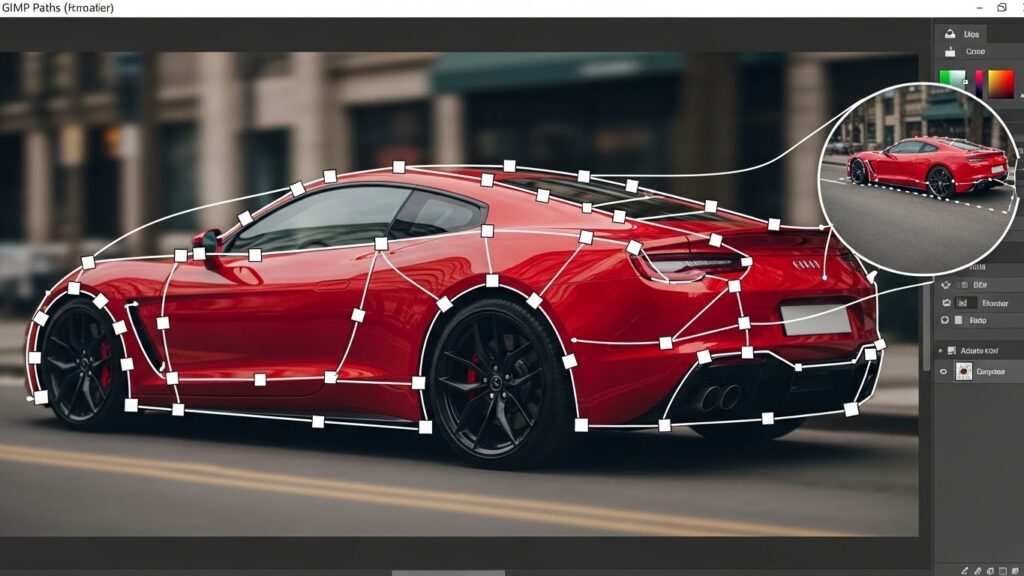
When to use it: You need professional-quality results. Your subject has clear, defined edges. You have the time to be precise.
Step-by-step guide:
- Click the Paths tool icon or press “B”
- Zoom in on your image for accuracy
- Click along the edge of your subject to place points
- For curved edges: click and drag to create a curve
- Work your way around the entire subject
- Click on your starting point to close the path
- Go to Select > From Path
- Press Delete to remove the background
Pro tips:
- Use fewer points on straight edges
- Use more points on curved or complex edges
- Hold Ctrl and drag points to adjust them
- Press Enter to finish your path
- Go to Select > Invert if you selected your subject instead of the background
Method 4: Foreground Select Tool (Best for Fuzzy Details)
This tool helps when your subject has complex edges like hair, fur, or feathers.
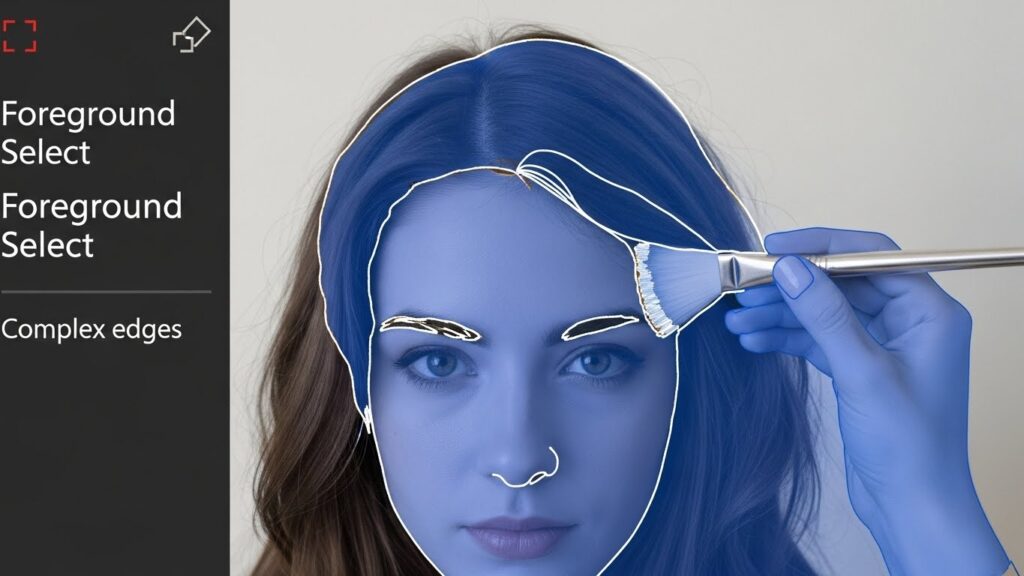
When to use it: Your subject has fuzzy edges, hair, or fine details. The background and subject have some color contrast.
Step-by-step guide:
- Click the Foreground Select tool icon
- In the tool options, set “Engine” to “Matting Global”
- Draw a rough outline around your subject (don’t worry about being perfect)
- Press Enter when you’re done
- Your image will turn blue
- Paint over your subject with quick brush strokes
- Press Enter again
- Go to Select > Invert
- Press Delete to remove the background
Pro tips:
- You don’t need to trace every hair strand
- Just paint the main parts of your subject
- The tool figures out the fuzzy edges for you
- This method works best when the background and subject have different colors
Method 5: Layer Mask Method (Best for Complex Images)
Layer masks let you hide parts of your image without deleting them. You can always go back and fix mistakes.

When to use it: You want to keep your original image safe. You might need to adjust your selection later. Your image has very fine details.
Step-by-step guide:
- Go to Colors > Desaturate > Desaturate (make your image black and white)
- Go to Colors > Curves
- Adjust the curves to make your subject white and background black
- Right-click your layer and select “Add Layer Mask”
- Choose “Grayscale copy of layer”
- Click “Add”
- Undo your desaturate step (Ctrl + Z several times)
- Your background should now be transparent
Pro tips:
- White areas on the mask stay visible
- Black areas become transparent
- Gray areas become semi-transparent
- Use a white or black brush to paint on the mask and fix mistakes
- This method needs practice but gives you the most control
How to Save Your Image with Transparent Background
After removing the background, save your image correctly to keep the transparency.
Steps to save:
- Go to File > Export As
- Type a name for your file
- Make sure it ends with .png (not .jpg)
- Click “Export”
- In the PNG options window, click “Export” again
Important: JPG files can’t have transparent backgrounds. Always use PNG format.
Quick Comparison: Which Method Should You Use?
| Method | Best Used When |
|---|---|
| Fuzzy Select Tool | • The background is simple or uncluttered • You want to remove the background quickly • The background color clearly differs from the subject |
| Select by Color Tool | • The background is a single solid color • You need the fastest background removal method • You’re editing graphics or illustrations |
| Paths Tool | • You need clean, professional-quality results • The subject has smooth, well-defined edges • You have time to work with precision |
| Foreground Select Tool | • The subject has hair, fur, or fuzzy edges • There’s good contrast between subject and the background • You want accurate results without extreme precision |
| Layer Mask Method | • You’re working with very complex images • You want non-destructive editing • You may need to refine or fix the background later |
Choosing the right tool makes it easier to remove background in GIMP efficiently and with clean edges.
Common Problems and How to Fix Them
| Problem | Solution |
|---|---|
| Small pieces of background are left behind | Zoom in and use the Eraser tool to clean up leftover areas, or make another selection using the Fuzzy Select tool. |
| The edges look jagged | Enable Feather Edges in the tool options to create smoother, more natural-looking edges. |
| Part of the subject got deleted | Press Ctrl + Z to undo. While selecting, hold Ctrl and click on areas you don’t want included in the selection. |
| The transparency didn’t save | Ensure the image is exported as PNG, not JPG. JPG files don’t support transparent backgrounds. |
Tips for Better Results
- Work on a copy: Duplicate your layer before removing the background. Right-click the layer and choose “Duplicate Layer.”
- Zoom in: Press the plus key to zoom in. You’ll catch small details you’d otherwise miss.
- Take your time: Rushing leads to messy edges. Take breaks if needed.
- Use the right tool: Don’t force one method to work. If Fuzzy Select isn’t working, try the Paths tool instead.
- Practice makes perfect: Your first few tries might look rough. That’s normal. Keep practicing.
Final Thoughts
Removing backgrounds in GIMP is free and powerful. Yes, it takes a bit of practice. But once you learn these five methods, you can handle almost any image.
Start with simple images that have solid backgrounds. As you get better, move on to more complex photos.
The best part? GIMP is completely free. You’re not paying monthly fees or subscription costs. Download it once and use it forever. Now go try it yourself. Open an image and start removing backgrounds today.
Don’t want to spend time removing backgrounds manually?
Let Design Shifu handle image editing, background removal, and marketing visuals, unlimited requests, and flat monthly pricing.
FAQs
Is GIMP good for background removal in 2026?
Yes, GIMP remains one of the best free background removal tools in 2026, especially for users who want manual control and professional results without subscriptions.
What is the easiest way to remove a background in GIMP?
How do I remove background from hair in GIMP?
Why is my background not transparent after exporting?
Is GIMP better than online background remover tools?
Can beginners use GIMP for background removal?
What’s the best free alternative to Photoshop for background removal?