Tired of pleasing your marketing clients with constant, on-brand designs? Developing a design asset library can be your game-changer. As a marketing expert, you understand the chaos of balancing multiple client campaigns with every design conforming to their brand.
A well-structured design asset library is a time-saver, stress-reducer, and client-come-backer. In this guide, we’ll walk you through how to build a design asset library that makes your workflow smoother.
And then, we’ll take on how to set up a design request workflow that doesn’t suck so you can hand over amazing designs without the headache. Let’s get started and revolutionize the way you handle design for your marketing clients!
TL;DR
- A design asset library centralizes all your clients’ branding materials—logos, colors, fonts, templates—making design work faster, more consistent, and more professional.
- This guide walks you through creating a comprehensive, easy-to-manage library, choosing the right tools, organizing assets, and integrating with a stress-free design request workflow
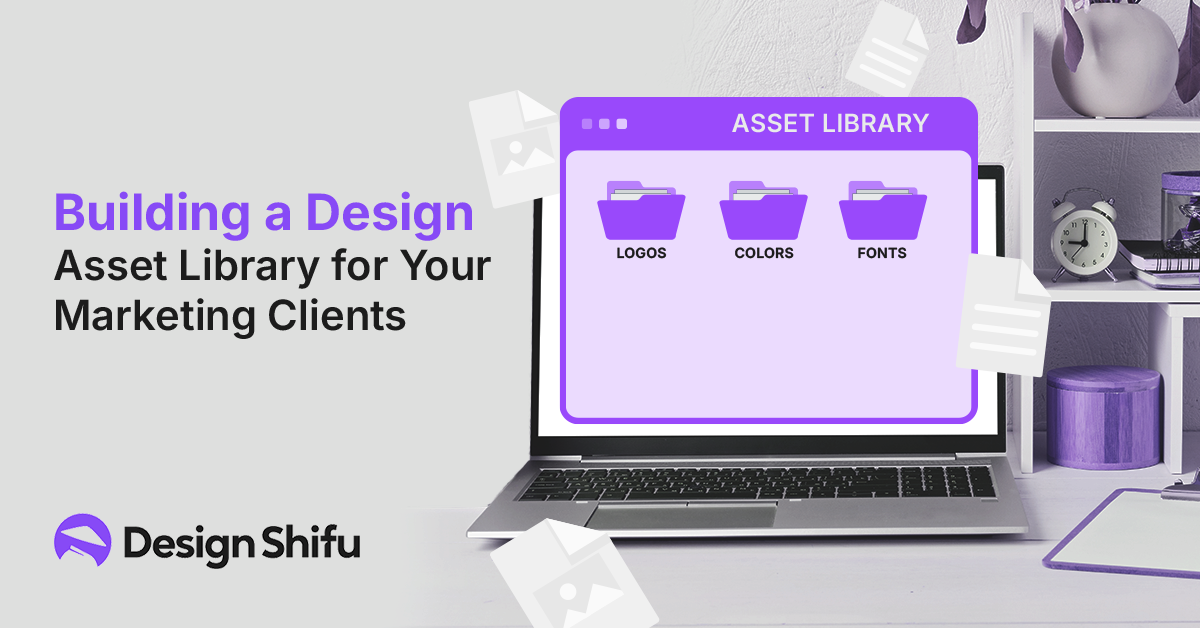
Why You Need a Design Asset Library for Marketing Clients
A design asset library is a one-place repository for all your client’s branding assets—such as logos, color codes, fonts, and templates.
Why does this come in handy?
First, it creates consistency from campaign to campaign, which establishes trust with your clients. For instance, if a client’s logo is in Purple (#874AF6) according to their brand guidelines, you’ll always have that precise color available.
It is faster. Rather than digging through emails for the most recent brand assets, you pull them from your library and proceed. Then, a asset library eliminates mistakes, avoiding expensive errors such as the use of old logos.
Thus, building a design library isn’t something you might want to do—it is something you should do if you’re working on marketing teams that strive to produce quick, on-brand outcomes.
Step 1: Get Your Client’s Brand Assets
Start by collecting all the essential design elements your marketing clients use. Reach out to your clients and ask for their brand guidelines, which should include:
- Logos: High-resolution files in multiple formats (e.g., PNG, SVG).
- Color Palettes: Hex codes for primary and secondary colors (e.g., Mustard Yellow #F3D074).
- Typography: Approved fonts and weights, like Inter Display Thin to Black.
- Templates: Pre-designed assets like social media graphics or email headers.
- Imagery: Approved photos, icons, or illustrations.
Organize these assets in a folder structure by client name. For instance, create a “Client A” folder with subfolders for logos, colors, and fonts. This step ensures your design library is comprehensive, so you’re never missing a key element when a project deadline looms.
Step 2: Choose the Right Tools for Your Design Asset Library
Next, choose a location to house your design library. You need something that’s easy to access, secure, and user-friendly.
Some possibilities include
- Cloud Storage: Applications such as Google Drive or Dropbox allow you to store and share assets with your team. They’re easy and inexpensive.
- Digital Asset Management (DAM) Systems: Sites such as Brandfolder or Bynder provide more advanced tools, including version control and permissions, that work well in larger teams.
- Design Tools with Libraries: Applications such as Canva or Figma enable you to host brand assets in their system, which makes it simple to dive in and do design work.
Select an asset that is appropriate for your team size and budget. For instance, a small marketing agency may begin with Google Drive, while a big firm may opt for a DAM system. Either of these options, at least make sure that all the members of your team can easily access the asset library.
Step 3: Organize and Categorize for Easy Access
Finally, set up your asset library to retrieve quickly. Use descriptive, standard naming conventions, e.g., “ClientA_Logo_Primary_PNG” or “ClientB_ColorPalette_2025.” Organize items into folders such as “Logos,” “Typography,” and “Campaign Templates.”
Also, include metadata or tags (e.g., “Social Media,” “Email”) to speed up searching. For example, if you want a client’s Teal Green (#1CB886) for a banner, you can search for it in seconds. A well-organized library means less time digging and more time creating, which your marketing clients will appreciate.
Step 4: Keep Your Design Asset Library Updated
A design asset library is only useful if it stays current. Set a schedule to review and update assets every quarter. For example, if a client updates their logo, replace the old version immediately.
Also, archive outdated assets in a separate folder to avoid confusion. Pro tip: Assign a team member to oversee updates, ensuring nothing slips through the cracks. By keeping your asset library fresh, you’ll always deliver designs that align with your client’s latest branding.
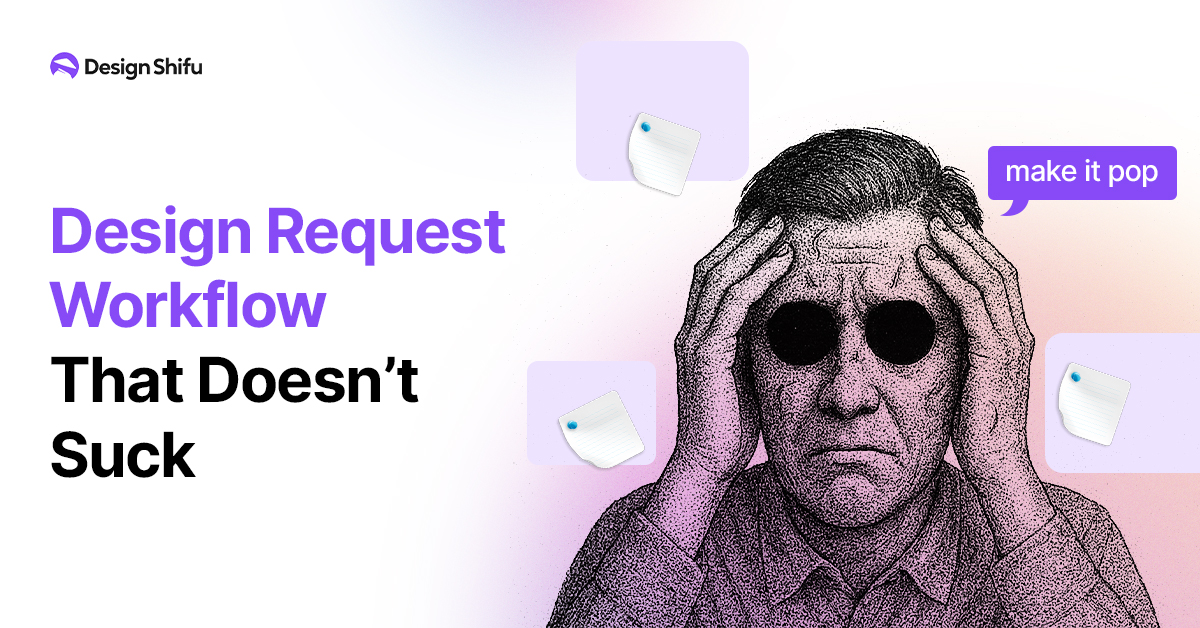
Setting Up a Design Request Workflow That Doesn’t Suck
Now that your design asset library is in place, it’s time to address the next challenge: handling design requests. A cumbersome workflow can annoy your team and hold up projects, so let’s create a design request workflow that maintains a seamless and efficient flow.
Define Clear Submission Guidelines
First, establish an easy process for clients to make requests. Utilize a form (such as Google Forms) in which clients indicate details such as project type, deadline, and any references.
For instance, a client may request a social media graphic based on their design asset library colors, such as Purple (#874AF6). Clarity saves back-and-forth, so your team will begin work sooner.
Centralize Communication
Then, utilize one platform for all design requests like Trello or Asana. This keeps everything centralized so requests aren’t lost in the email chain.
You can assign tasks to team members and monitor progress in real time. Let’s say a marketer requires a flyer. You can pull resources from your design asset library and assign the task to a designer—all within a single tool.
Prioritize and Schedule Requests
All requests are not urgent, so prioritize them according to deadlines and client requirements. Schedule work using a calendar so that your team does not get overwhelmed.
For instance, if a client requires a banner within 24 hours, move it to the top. An organized design request workflow makes your marketing clients cheerful and your team tension-free.
Leverage Professional Design Services
Occasionally, your team may be overwhelmed, or a project may require specialized expertise. That’s when an offering like Design Shifu is helpful.
Through Design Shifu, you can send unlimited design requests and receive high-quality, on-brand designs in 24 hours—no contracts, just outcomes.
They can draw from your library of design assets to help maintain consistency, making your workflow even easier. And with a 14-day money-back guarantee, it’s a risk-free method of scaling your design output.
Best Practices for Managing Your Design Asset Library
In order to truly make your design asset library effective, utilize these best practices:
- Train Your Team: Make sure everyone understands how the library works and the use of naming conventions.
- Secure Access: Employ permissions to restrict who can view or edit sensitive assets.
- Integrate with Workflow: Connect your asset library to your design request workflow for easy access.
- Audit Periodically: Look for duplicates or expired files to maintain the library trim.
- Backup All: Store a duplicate of your design asset library to prevent loss of data.
These routines keep your library a dependable resource for your marketing clients’ design requirements.
How a Design Asset Library Increases Client Satisfaction
A design asset library does not only benefit your team—it benefits your clients directly. Consistent visuals establish brand trust, so your clients appear good to their audience. Quicker turnaround, through a well-organized library and streamlined design request process, means you hit deadlines without any issues.
Additionally, fewer mistakes—such as applying the wrong font—result in more satisfied clients. For instance, accessing the right Inter Display font from your design asset library means each campaign feels professional.
Finally, a asset library enables you to provide the speed and quality your marketing clients demand.
Are You Ready to Build Your Design Asset Library?
Creating a design asset library for your marketing clients is an intelligent decision to streamline your design workflow and increase satisfaction. By collecting assets, selecting the proper tools, becoming organized, and combining it with a sound design request workflow, you’ll end up saving time and stress.
If you require additional assistance, Design Shifu is available to provide quick, on-brand designs within 24 hours—ideal for time-strapped marketing teams. Begin creating your asset library today and see your client projects flourish!
FAQs
What is a design asset library?
A design asset library is a central repository for holding a client’s branding assets, such as logos, colors, and fonts, to maintain consistent and effective design work.
Why would marketing clients require a design asset library?
A design asset library saves time, reduces errors, and provides brand consistency, enabling marketing teams to produce high-quality designs more quickly.
How do I create a design asset library for my clients?
Collect brand assets, select a storage tool such as Google Drive, categorize files with easy-to-understand categories, and update the library regularly.
What constitutes a good design request workflow?
An effective design request workflow involves clear submission criteria, centralized communication, prioritized scheduling, and process streamlining tools.
How does a design asset library enhance client satisfaction?
It provides consistent, on-brand designs, accelerates project delivery, and reduces errors, resulting in happier marketing clients.
Can Design Shifu assist me with my design asset library and workflow?
Yes, Design Shifu provides unlimited requests for designs with 24-hour turnaround, leveraging your design library to produce on-brand designs in no time.